Hurricane Season Roof Inspection Guide for Texas & Louisiana
Prepare your roof for hurricane season with our complete inspection guide. Learn what professionals check, DIY vs pro inspections, and how to document for insurance.
Hurricane season runs from June 1 through November 30, but preparation should start months earlier. For homeowners along the Texas Gulf Coast and Louisiana, your roof is your home's first line of defense against wind, rain, and flying debris.
A pre-season roof inspection can mean the difference between weathering a storm safely and facing tens of thousands in preventable damage. This guide walks you through everything you need to know--from the checklist items you can handle yourself to knowing when professional inspection is essential.
Pre-Season Roof Inspection Checklist
Start your hurricane preparation in early spring--ideally March or April. This gives you time to address any issues before contractors get booked solid in the weeks before a storm.
Exterior Inspection (Ground Level)
You can assess many roof conditions without climbing a ladder. Walk around your home and look for:
- Missing or damaged shingles -- Look for gaps, curling edges, or shingles that appear lifted
- Granule accumulation -- Check gutters and downspout splash areas for excessive granules (indicates shingle aging)
- Visible flashing -- Metal pieces around chimneys, vents, and roof edges should be flat and intact
- Gutter condition -- Sagging, separated, or clogged gutters can cause water backup during heavy rain
- Tree proximity -- Note overhanging branches that could break off in high winds
- Debris accumulation -- Leaves and debris in valleys trap moisture and accelerate deterioration
Interior Inspection (Attic)
Your attic tells the story of your roof's health. On a sunny day, inspect for:
- Daylight penetration -- Any visible light through the roof deck indicates gaps or holes
- Water stains -- Dark spots on rafters or decking suggest past or current leaks
- Sagging decking -- OSB or plywood that bows between rafters may be water-damaged
- Adequate ventilation -- Ensure soffit vents and ridge vents are unobstructed
- Insulation condition -- Wet or matted insulation indicates moisture problems
What Professional Inspectors Look For
A professional roof inspection goes beyond what homeowners can assess from the ground or attic. Here's what a trained inspector evaluates:
Structural Integrity
Inspectors walk the roof surface (when safe) to test for soft spots that indicate decking damage. They assess the overall roof plane for signs of sagging or structural movement, which can compromise wind resistance during a hurricane.
Fastening Patterns
Hurricane codes require specific nail patterns--typically 6 nails per shingle in high-wind zones versus the standard 4. Inspectors check whether shingles are properly fastened according to local codes. Improper fastening is the primary cause of shingle blow-off during hurricanes.
Flashing and Penetrations
Every roof penetration--vents, pipes, skylights, chimneys--is a potential water entry point. Inspectors examine:
- Caulk and sealant condition around penetrations
- Flashing integrity at all transition points
- Drip edge installation along eaves and rakes
- Step flashing where roof meets walls
Previous Repair Quality
Past repairs done incorrectly can create weak points. Professional inspectors identify patch jobs, color mismatches, and repairs that may not meet code requirements for hurricane zones.

DIY Inspection vs. Professional Assessment
When should you hire a professional versus doing your own inspection? Here's how to decide:
DIY Inspection Makes Sense When:
- Your roof is less than 10 years old with no storm damage history
- You have a simple roof design (gable or hip) with low pitch
- You're conducting routine seasonal checks between professional inspections
- You're comfortable safely accessing your attic
Professional Inspection Is Essential When:
- Your roof is 10+ years old
- You've experienced storm damage since your last inspection
- You have a complex roof with multiple valleys, dormers, or low-slope sections
- You're planning an insurance claim or seeking pre-storm documentation
- Your home is in a high-wind zone requiring code-specific fastening verification
- You're considering a FORTIFIED designation or roof upgrade
Safety First: Never walk on your roof unless you have proper safety equipment and experience. Steep roofs, wet surfaces, and damaged materials create serious fall hazards. If there's any doubt, hire a professional.
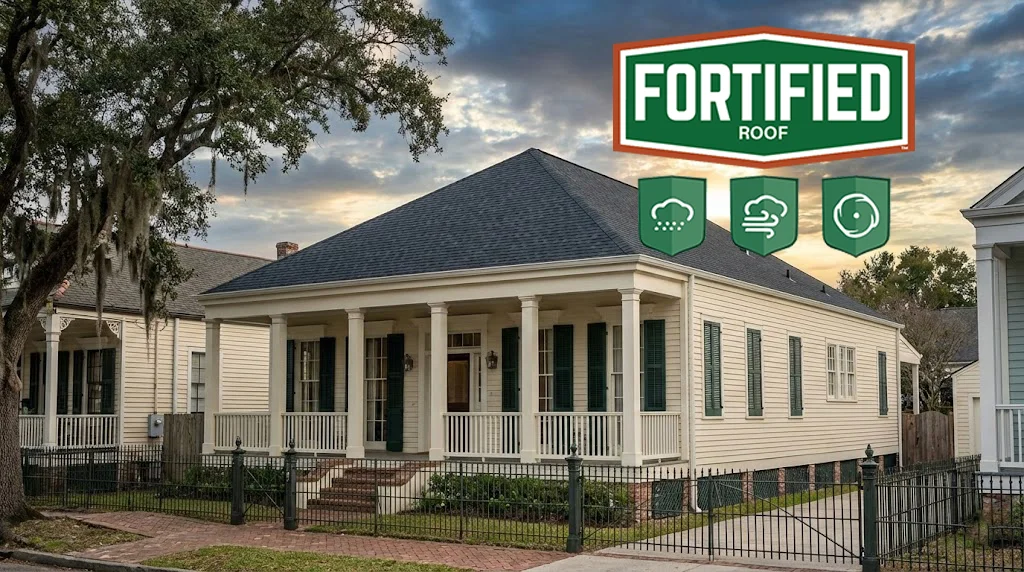
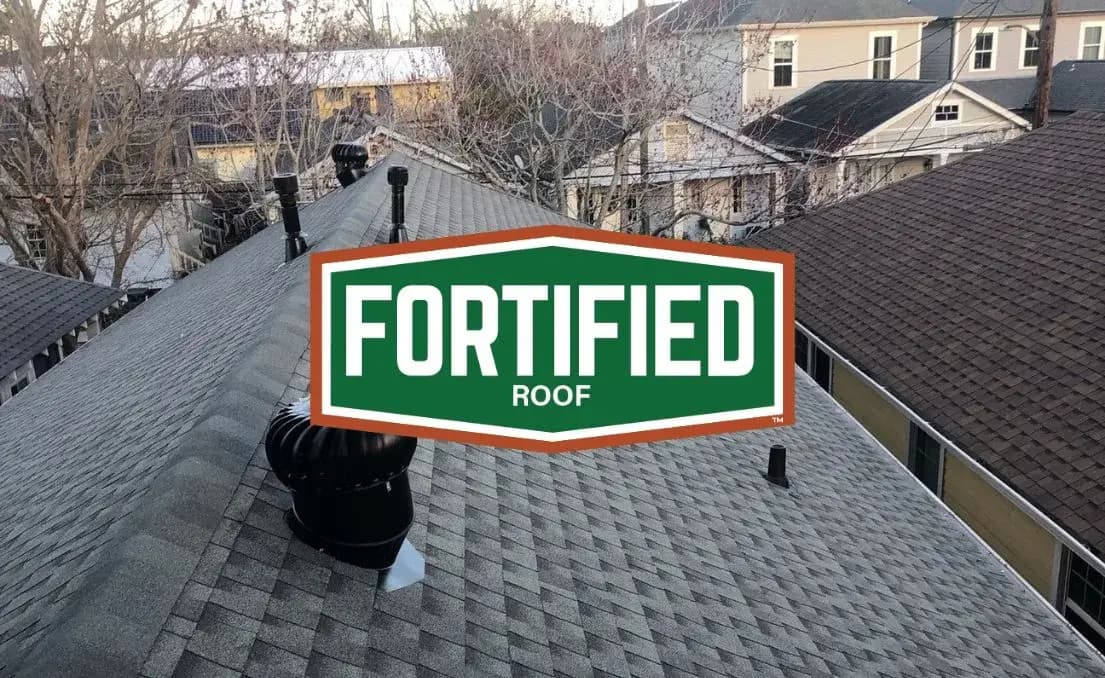
FORTIFIED Roof Preparation
For homeowners in Louisiana and coastal Texas, FORTIFIED designation represents the gold standard for hurricane protection. Even if your roof isn't currently FORTIFIED-designated, understanding these standards helps you evaluate your roof's storm readiness.
Key FORTIFIED Elements to Check
Sealed Roof Deck: FORTIFIED requires a sealed roof deck using self-adhering underlayment or taped seams. This secondary barrier prevents water intrusion even if shingles blow off. Standard felt paper provides minimal protection when shingles are lost.
Enhanced Fastening: FORTIFIED specifies ring-shank nails in a 6-nail pattern with specific placement. These provide nearly double the wind-uplift resistance of smooth-shank nails with standard patterns.
Drip Edge: Properly installed drip edge prevents wind from getting under shingles at the roof's edge--a common failure point in hurricanes.
Pre-Hurricane FORTIFIED Checklist
If you have a FORTIFIED-designated roof, verify before hurricane season that:
- Your designation is current (FORTIFIED certifications are valid for 5 years)
- No repairs or modifications have been made outside of FORTIFIED standards
- All previous inspection documentation is accessible
Learn more about FORTIFIED roofs and Louisiana programs -->
Securing Loose Materials Before a Storm
When a hurricane is approaching (72-48 hours out), take these steps to minimize damage:
Remove or Secure Loose Items
- Clear debris from roof: Branches, leaves, and any accumulated materials become projectiles in high winds
- Clean gutters: Clogged gutters overflow and can cause water to back up under shingles
- Secure satellite dishes: Tighten mounting bolts or remove entirely if possible
- Check roof vents: Ensure turbine vents spin freely and passive vents are firmly attached
Yard Preparation That Protects Your Roof
Your yard contains the projectiles that damage your roof. Before the storm:
- Trim overhanging branches: Remove dead branches and trim limbs within striking distance of your roof
- Store or secure patio furniture: Tables, chairs, and grills become missiles in hurricane-force winds
- Remove hanging plants and decorations: These can detach and impact your roof
- Store garbage cans and recycling bins: Secure in garage or weight down heavily
Emergency Repairs
If your pre-season inspection identified issues you couldn't address before a storm approaches, temporary measures can help:
- Loose shingles: Roofing cement can temporarily reseal lifted edges
- Small holes: Roofing tape or plastic sheeting secured with 2x4s provides temporary waterproofing
- Clogged drains: Clear all roof drains and scuppers on flat or low-slope roofs
Important: Never make repairs during a storm or when one is imminent. Your safety is more important than any roof damage. Emergency repairs should only be done when you have adequate time and conditions are safe.
Documentation for Insurance Claims
Proper pre-storm documentation is crucial if you need to file a claim after a hurricane. Insurance adjusters need to establish your roof's condition before damage occurred.
What to Document Before Hurricane Season
- Date-stamped photos: Photograph all roof planes, flashing details, and any existing minor damage. Use your phone's timestamp feature or include a newspaper with visible date.
- Professional inspection report: A written report from a licensed contractor establishes baseline condition.
- Maintenance records: Keep receipts for any repairs, cleaning, or maintenance performed.
- Manufacturer information: Document shingle brand, model, and installation date if known.
- Previous claim history: Maintain records of any prior storm damage claims and repairs.
How to Photograph Your Roof
Take photos from multiple angles and distances:
- Overall shots of each roof plane from ground level
- Close-ups of shingles showing their condition
- All flashing around chimneys, vents, and skylights
- Gutters and downspouts
- Any existing damage or wear (important for pre-existing condition documentation)
- Attic interior showing decking and any previous water stains
Where to Store Documentation
Don't keep your only copies at home where they could be destroyed in a storm:
- Upload photos to cloud storage (Google Drive, iCloud, Dropbox)
- Email copies to yourself
- Share with a family member in another location
- Keep physical copies in a waterproof safe if stored at home
Post-Storm Assessment
After a hurricane passes, assess your roof safely and document damage properly.
Immediate Safety Priorities
Before inspecting your roof:
- Wait for authorities to declare your area safe
- Watch for downed power lines near your home
- Check for structural damage before entering your home
- Never walk on a wet roof or one with visible damage
Ground-Level Damage Assessment
Start your assessment from the ground:
- Look for missing shingles or visible roof deck
- Check for debris impacts on roof surfaces
- Examine flashing around chimneys and vents
- Note any sagging or structural changes
- Check gutters for damage or separation
Interior Water Damage Check
Inside your home, look for:
- Water stains on ceilings, especially near edges and corners
- Wet insulation in the attic
- New daylight visible through the roof deck
- Musty odors indicating moisture intrusion
Document Everything
For insurance purposes:
- Photograph all damage immediately, with date stamps
- Include wide shots and close-ups
- Video walkthrough can capture details photos miss
- Keep samples of damaged materials if safely accessible
- Get a written damage assessment from a licensed contractor
Filing Your Insurance Claim
When contacting your insurance company:
- File your claim as soon as possible after the storm
- Provide your pre-storm documentation and post-storm photos
- Get a professional inspection and estimate before the adjuster visit
- Be present during the adjuster's inspection
- Don't accept the first estimate without contractor review--supplements are common and often necessary
Our Experience on the Gulf Coast
From our team: We've inspected thousands of roofs before and after hurricanes across Louisiana and the Texas Gulf Coast. The single biggest factor we see in storm performance isn't the shingle brand or age--it's proper installation and maintenance. A 15-year-old roof with good fastening and sealed penetrations often outperforms a 5-year-old roof with installation shortcuts. Our recommendation: get a professional inspection in March or April, address any issues while contractors have availability, and document everything. When the next storm comes--and it will--you'll be prepared.
-- Hunter Lapeyre, Owner
Frequently Asked Questions
Schedule your inspection in March or April, before hurricane season begins on June 1. This gives you time to address any issues while contractors have availability and material supply is normal. Waiting until a storm is approaching means you may not get timely repairs.
Professional roof inspections typically cost $150-$400 depending on roof size and complexity. Many roofing contractors offer free inspections if you're considering repairs or replacement. The cost is minimal compared to the thousands you could save by identifying problems before a storm.
From the ground, check for missing or damaged shingles, clogged gutters, and overhanging tree branches. In the attic, look for daylight through the roof deck, water stains, and sagging decking. However, professional inspection is recommended for roofs over 10 years old or with storm damage history.
Take date-stamped photos of all roof planes, flashing details, and any existing wear. Store copies in cloud storage and email them to yourself. Keep a professional inspection report, maintenance receipts, and manufacturer information. This documentation establishes your roof's condition before storm damage.
FORTIFIED roofs include a sealed roof deck that prevents water intrusion even if shingles blow off, ring-shank nails with double the wind resistance, and enhanced drip edge installation. Third-party verification ensures proper installation. Louisiana insurers offer 20-52% premium discounts for FORTIFIED designation.
DIY inspection works for newer roofs with simple designs and no damage history. You can check gutters, visible shingles, and attic conditions safely. However, hire a professional for roofs over 10 years old, complex designs, post-storm assessments, or when planning insurance claims or FORTIFIED upgrades.
For minor issues, roofing cement can temporarily reseal lifted shingles. Small holes can be covered with roofing tape or plastic sheeting secured with boards. However, never attempt repairs during a storm or when one is imminent--your safety is paramount. Major issues may require professional emergency tarping.
File your claim as soon as possible after the storm passes and it's safe to assess damage. Document everything with photos and video before making temporary repairs. Get a professional damage assessment from a licensed contractor before the adjuster visits. Most policies have time limits for filing claims.

Hunter Lapeyre
Owner, Lapeyre Roofing